
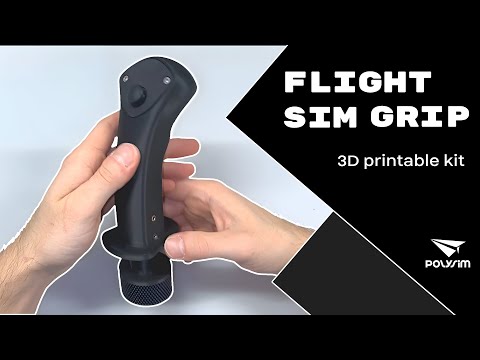
An open, 3D-printable flight simulator joystick grip with a thumb stick, a side button and an I2C interface.


A 3D-printable joystick grip with a thumb stick and a side button. It talks to the joystick base over I2C.
 |
🔗 Made for the Polysim Base. The grip locks onto the base with its knurled ring and plugs in through the 4-pole jack. The base reads it and sends everything to the PC over USB. |
| Files | Folder | Printables | Thingiverse | MakerWorld |
|---|---|---|---|---|
| STL – one per part | cad/stl |
Download | Download | Download |
| 3MF – print plates | cad/3mf |
— | — | Print profile |
| STEP – full assembly with PCB | cad/step |
— | — | — |
The Polysim Grip kit contains every component needed for the assembly. You only have to print the plastic parts in PLA or PETG, then follow the assembly video.
| Exploded view | Assembly tutorial |
|---|---|
 |
 |

The BASE side (encoder PCBs and base PCB) belongs to the Polysim Base project. More details are in docs/hardware.md.
The grip PCB has no USB port: flash it through its ICSP header (J1) with a USBasp or an Arduino as ISP.
- In the Arduino IDE, open
firmware/polysim_grip/polysim_grip.ino. - Select Tools → Board → Arduino Nano, then Tools → Programmer → USBasp (or Arduino as ISP).
- Connect the programmer to J1, then click Sketch → Upload Using Programmer.
On a brand-new chip, run Tools → Burn Bootloader once first: it sets the fuses for the 16 MHz crystal.
See docs/i2c-protocol.md.
Released under the Sustainable Use License 1.0:
- ✅ Personal, non-commercial and internal use, modification and free redistribution.
- ❌ Commercial use (for example selling printed grips or kits) is not permitted.
Redistributed copies must include the license, and modified copies must say they were modified.