
Self-hosted invoicing without the bloat. Fast, transparent, and fully yours.
Live Demo • Documentation • Support


It has been a little while since my last commit, I have just been busy with life in general. This project is not of my radar and it is something I wish to keep on working on.
- Built for doing, not configuring — create an invoice, send a link, get paid. No CRMs, projects, or bloat getting in your way.
- You really own it — self‑hosted by default. Your data lives where you put it, and exporting is always an option.
- Fast & dependable — Deno + Fresh on the frontend and Hono + SQLite on the backend keep things simple and quick.
- Client‑friendly — share a secure public link—no accounts or passwords required to view invoices.
- Secure by default — built-in security headers, JWT authentication, and rate limiting to protect your instance.
Invio includes several security features out of the box:
- Rate Limiting — Protects the login endpoint against brute-force attacks (by IP, username, and combination)
- Security Headers — X-Content-Type-Options, X-Frame-Options, CSP, and more
- JWT Authentication — Secure session management with configurable TTL
- HSTS Support — Optional Strict-Transport-Security headers for HTTPS deployments
| Variable | Default | Description |
|---|---|---|
RATE_LIMIT_ENABLED |
true |
Enable/disable rate limiting |
RATE_LIMIT_MAX_ATTEMPTS |
5 |
Max failed attempts before blocking |
RATE_LIMIT_WINDOW_SECONDS |
900 |
Time window (15 minutes) |
RATE_LIMIT_TRUST_PROXY |
false |
Trust X-Forwarded-For header |
Rate limiting tracks failed attempts by:
- IP address — Blocks an IP after too many failed attempts on any account
- Username — Blocks a username after too many failed attempts from any IP (distributed attack protection)
- IP + Username — Blocks specific combinations
When running Invio behind a reverse proxy, set RATE_LIMIT_TRUST_PROXY=true and configure your proxy to forward the client IP:
nginx
location / {
    proxy_pass http://localhost:3000;
    proxy_set_header Host $host;
    proxy_set_header X-Real-IP $remote_addr;
    proxy_set_header X-Forwarded-For $proxy_add_x_forwarded_for;
    proxy_set_header X-Forwarded-Proto $scheme;
}
Apache
<VirtualHost *:443>
    ProxyPreserveHost On
    ProxyPass / http://localhost:3000/
    ProxyPassReverse / http://localhost:3000/

    RequestHeader set X-Real-IP "%{REMOTE_ADDR}s"
    RequestHeader set X-Forwarded-For "%{REMOTE_ADDR}s"
    RequestHeader set X-Forwarded-Proto "https"
</VirtualHost>
Requires: mod_proxy, mod_proxy_http, mod_headers
Caddy
invio.example.com {
    reverse_proxy localhost:3000 {
        header_up X-Real-IP {remote_host}
        header_up X-Forwarded-For {remote_host}
        header_up X-Forwarded-Proto {scheme}
    }
}
Note: Caddy automatically sets X-Forwarded-For by default.
See .env.example for all configuration options.
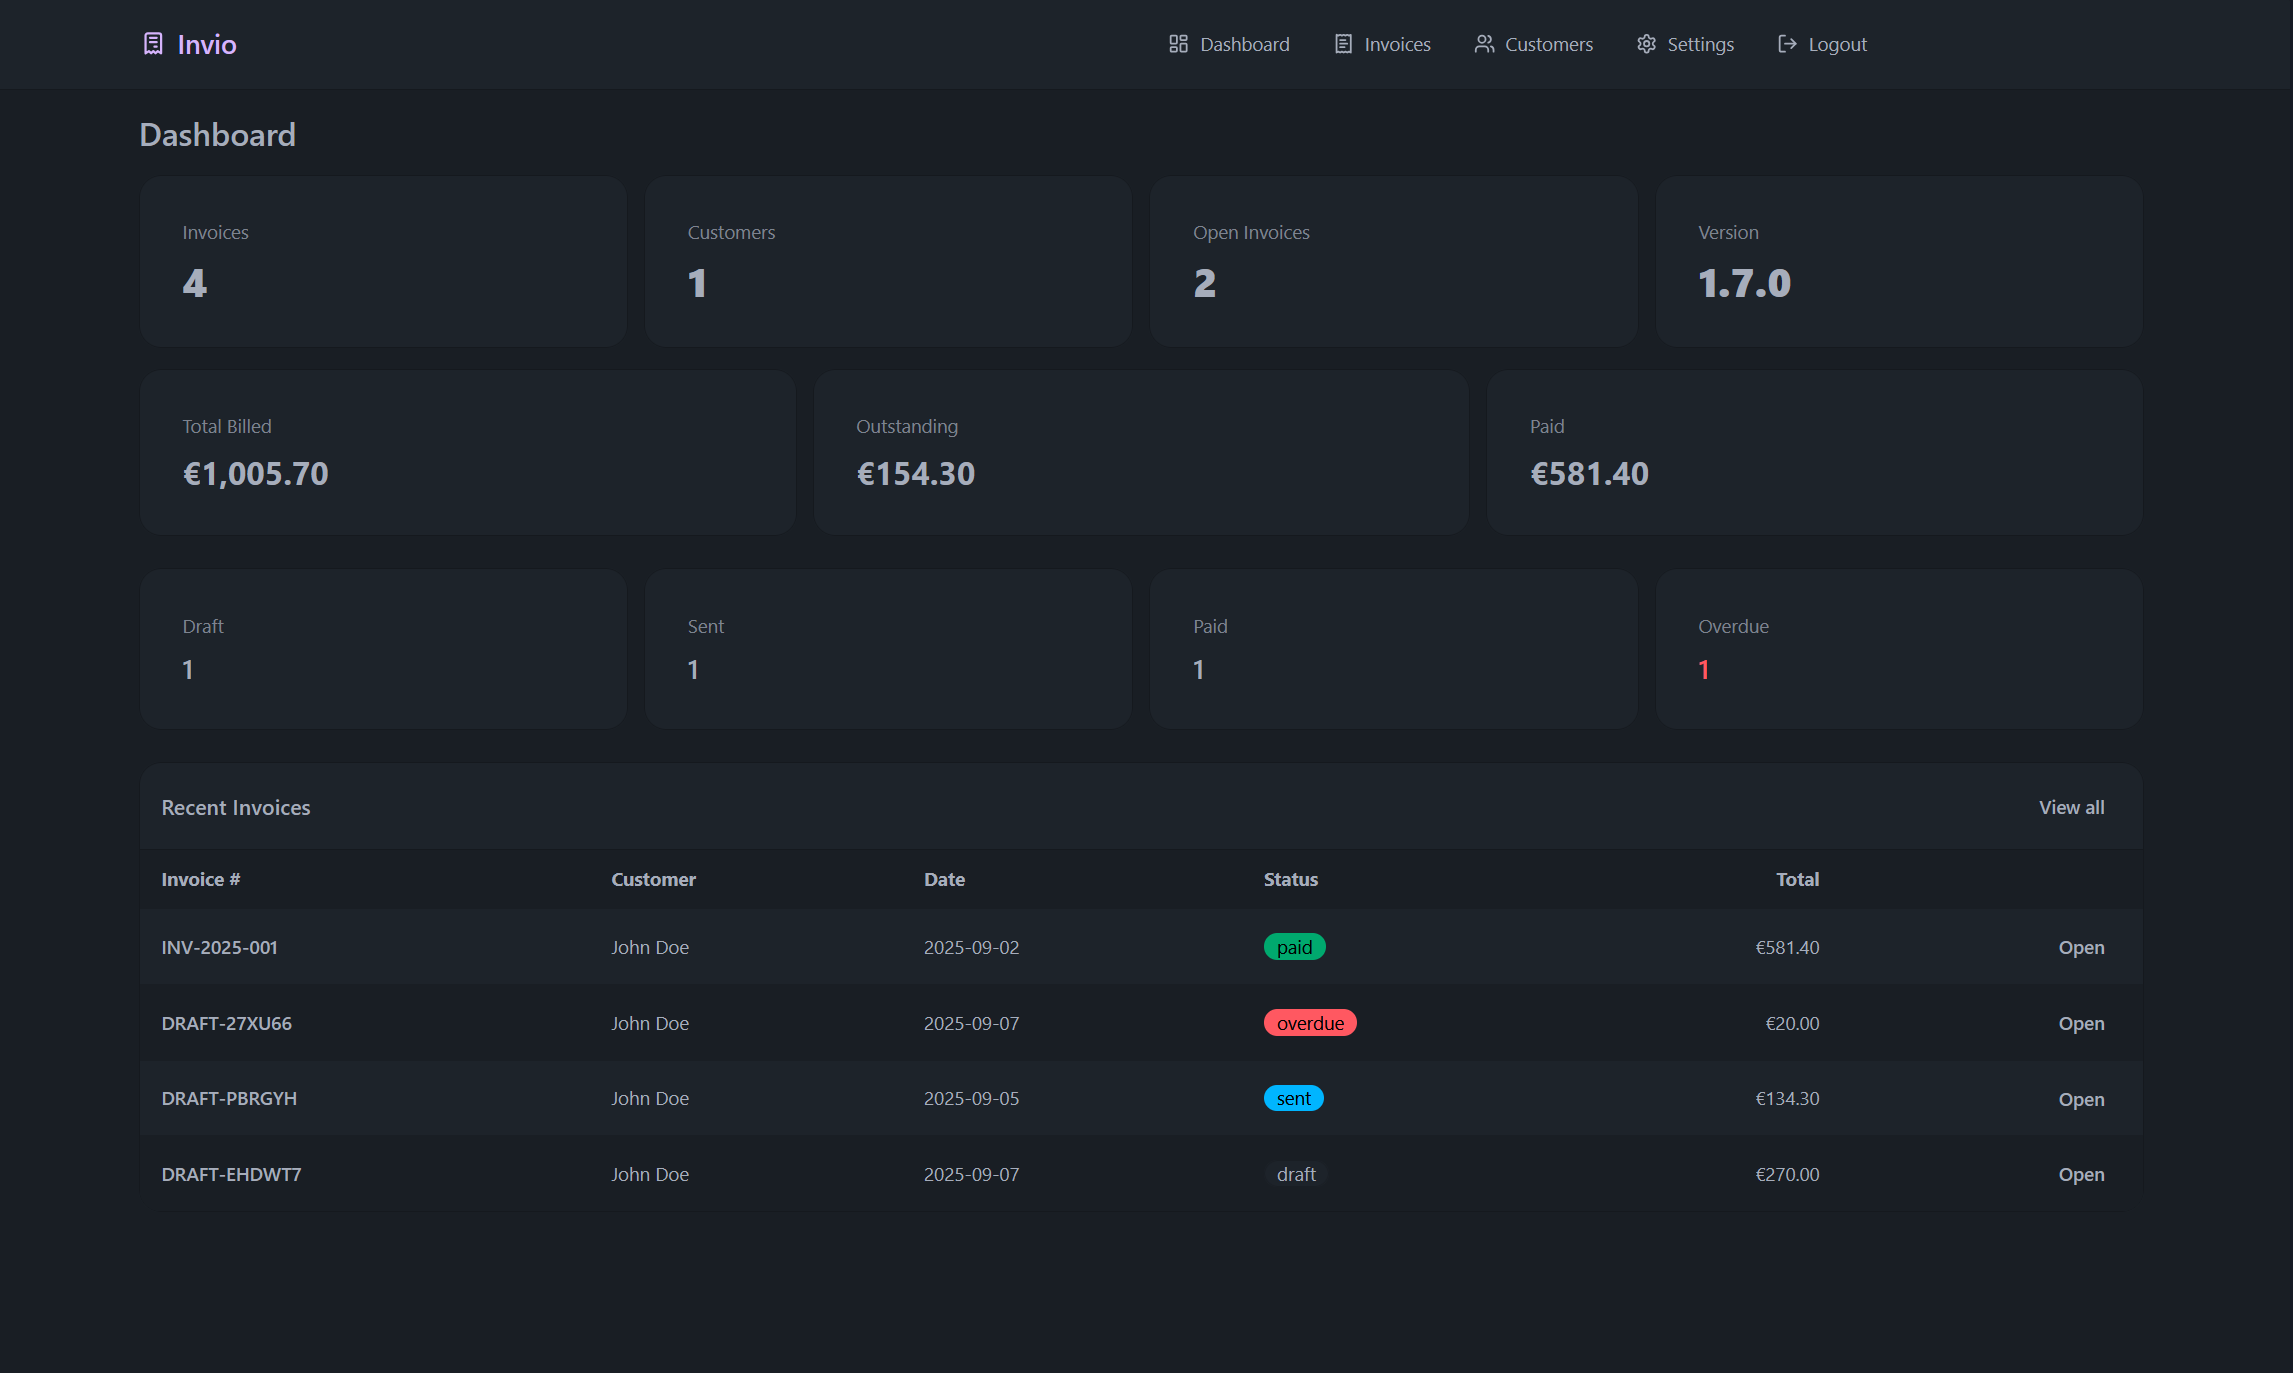
Dashboard
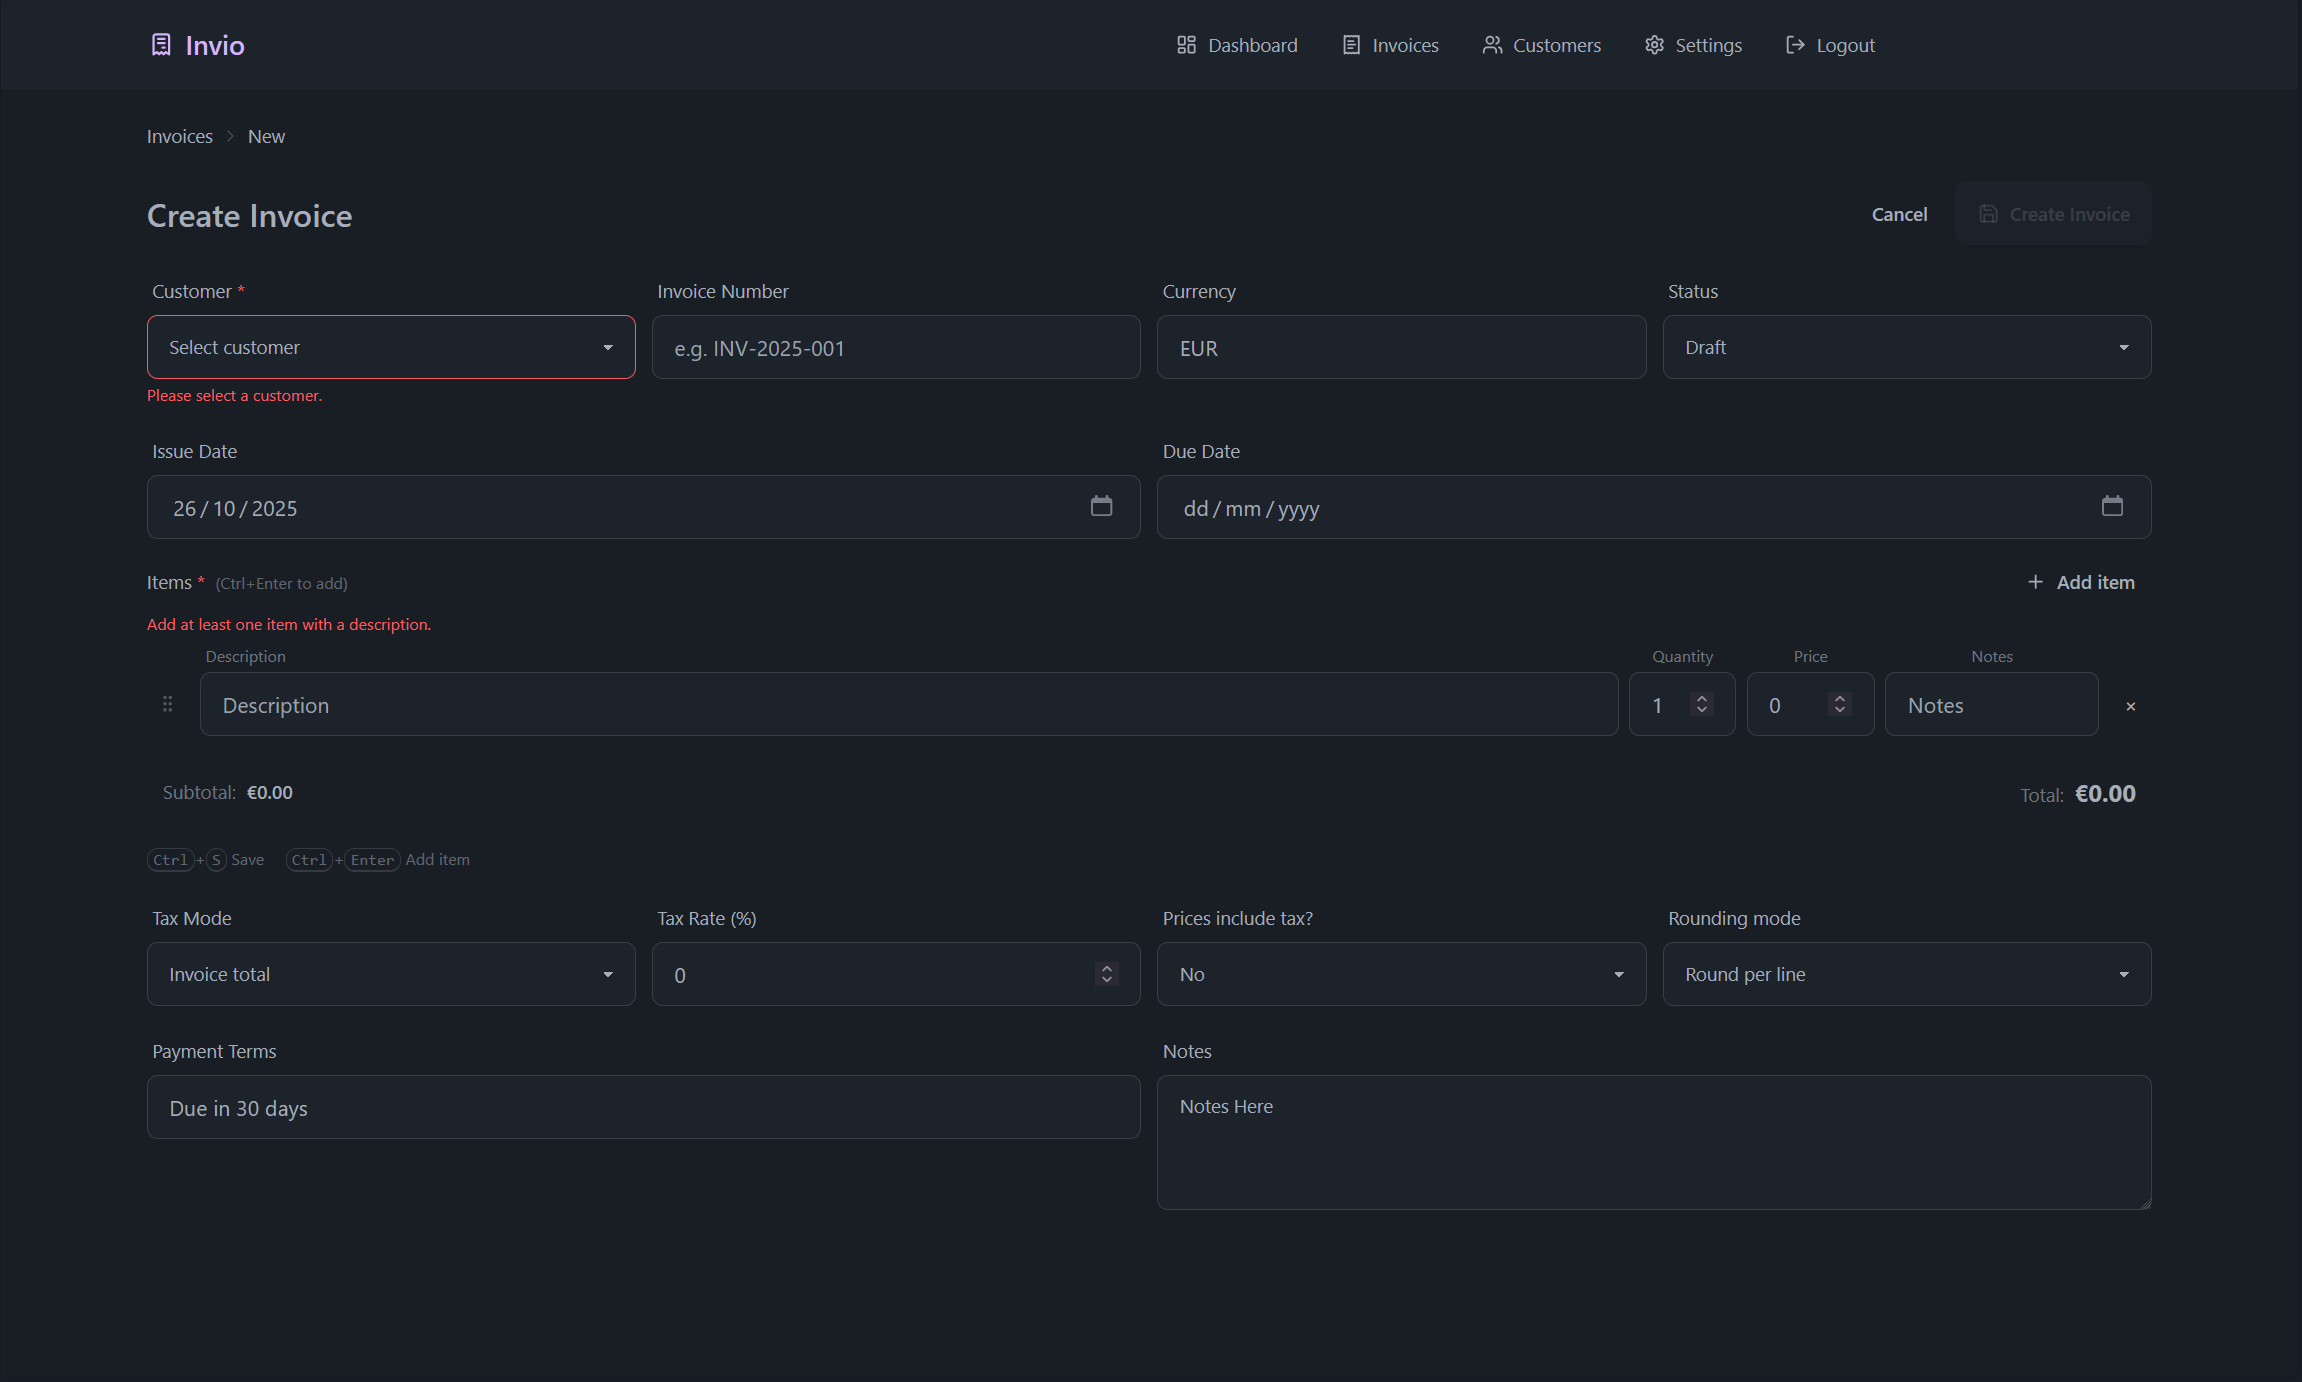
Invoice Creation
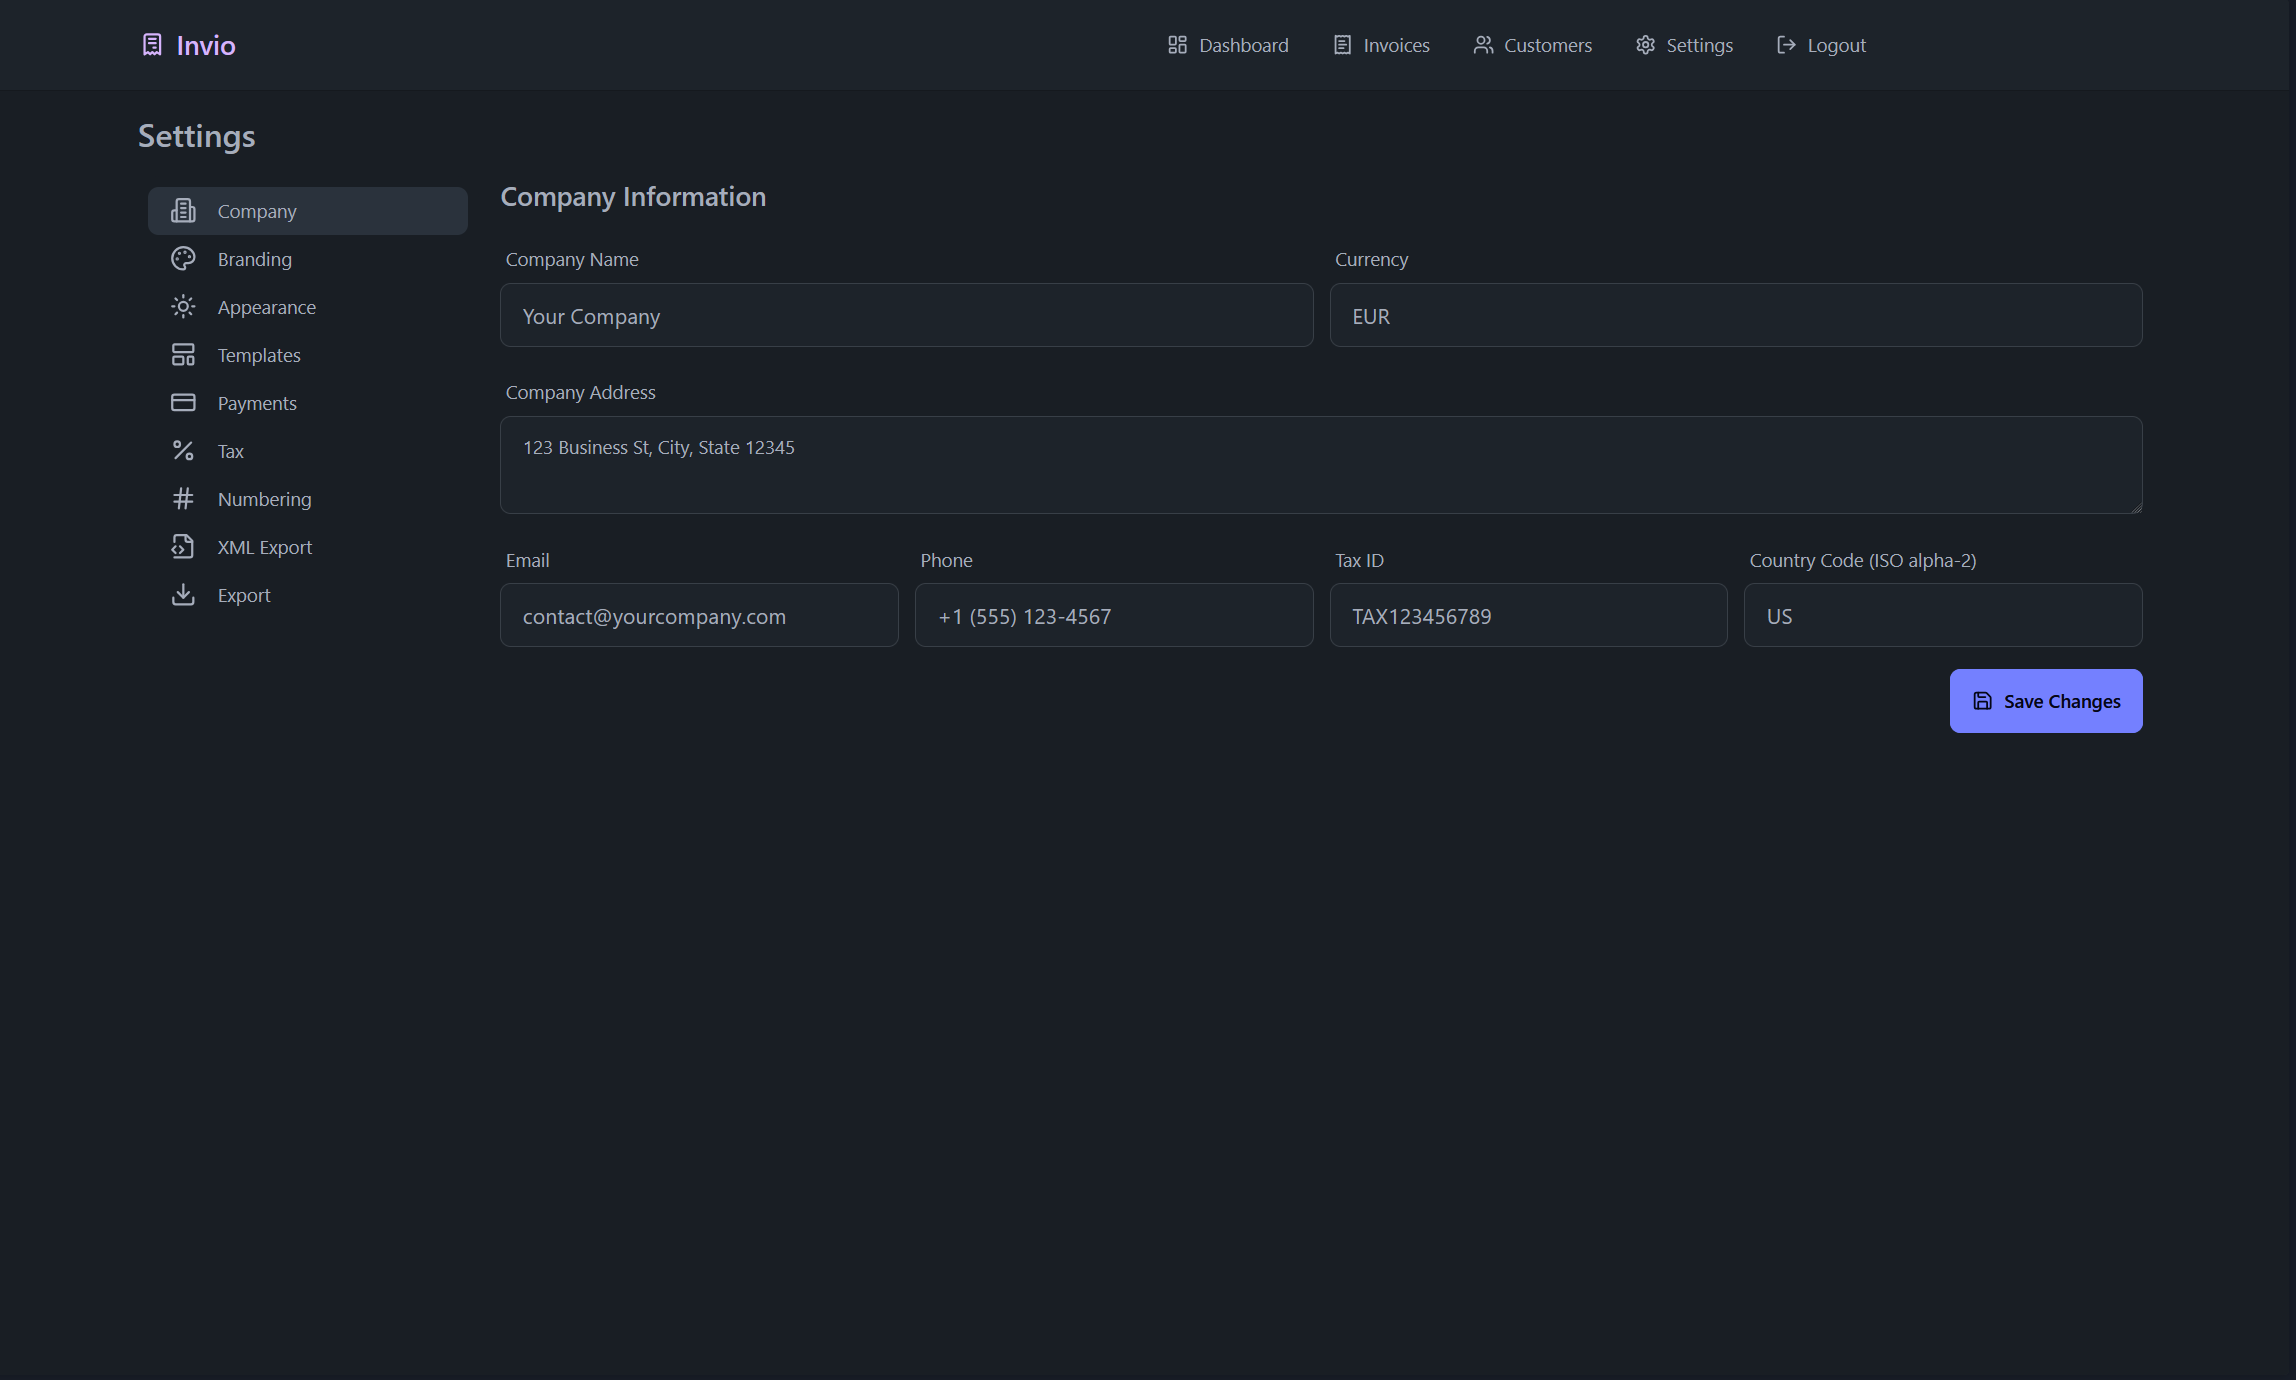
Settings
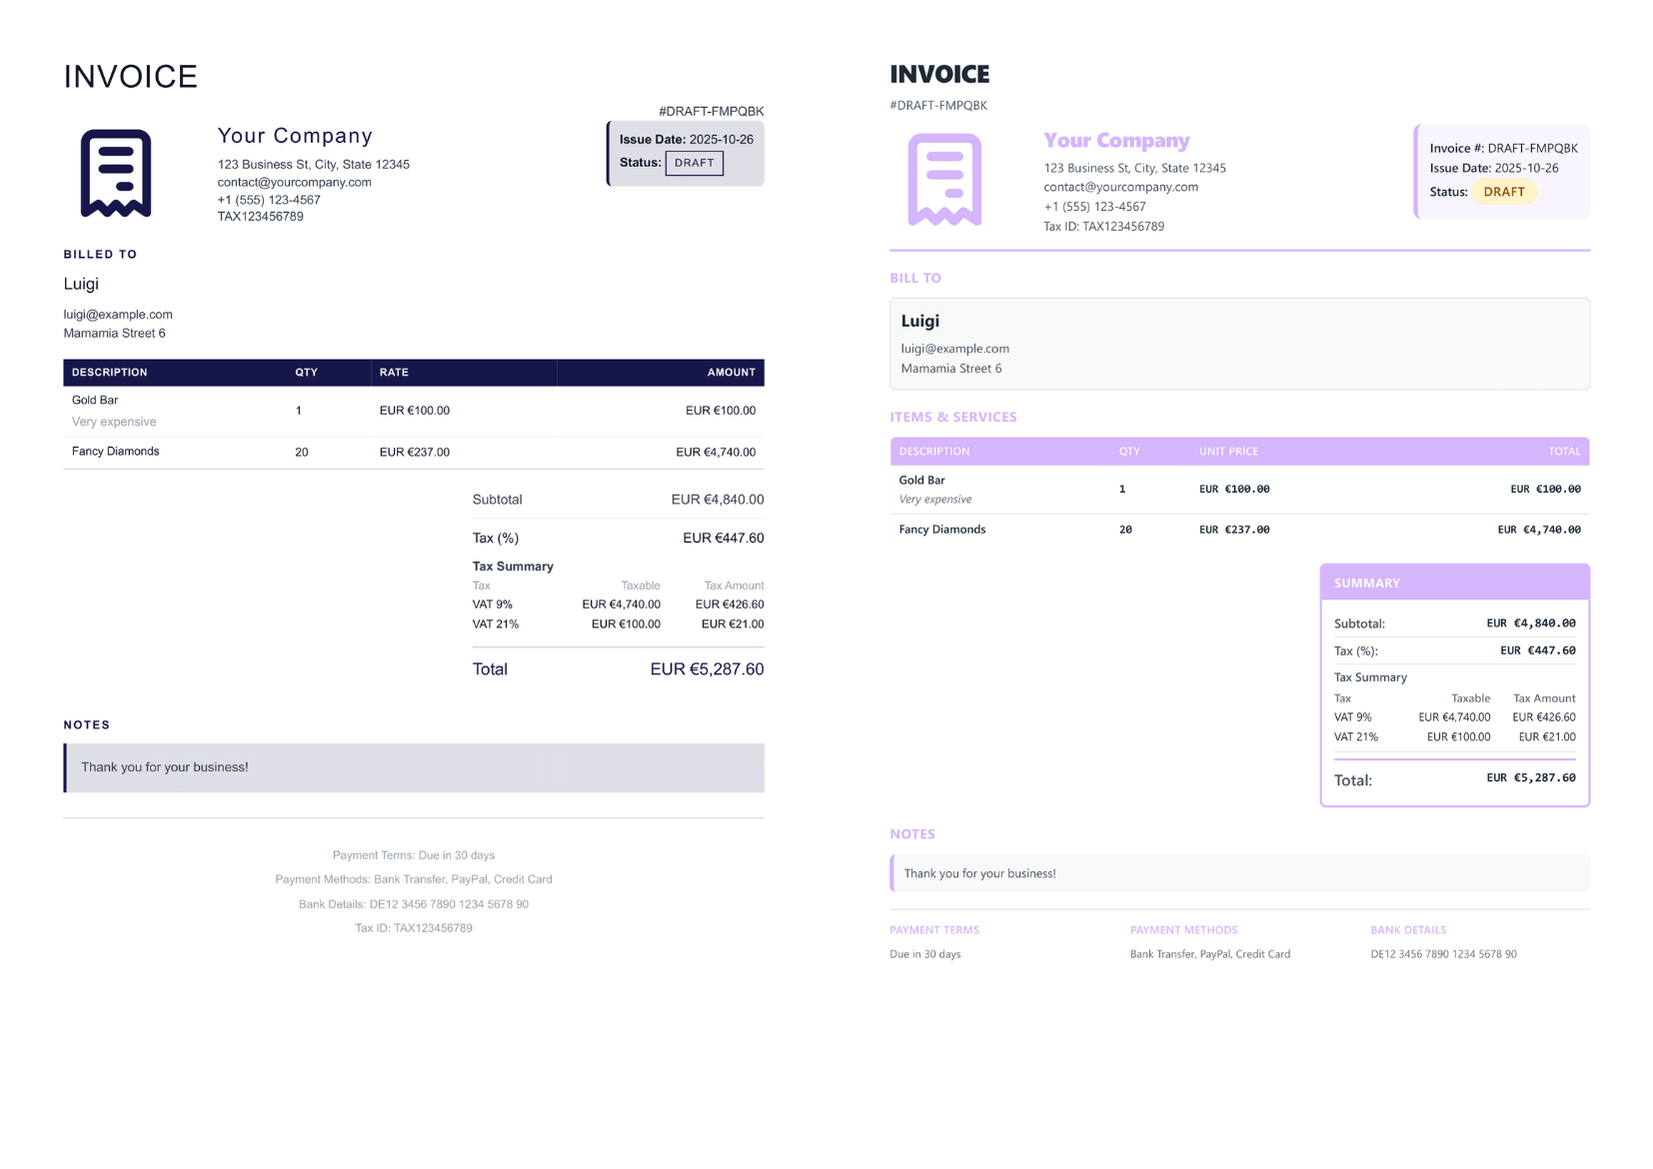
Invoices
Invio is made possible by your contributions!
- Found a bug or have an idea? Open an issue.
- Want to add a feature or fix something? Fork and submit a PR.
- All experience levels welcome — we’re excited to build with you.
If you like Invio and want to support development:
- Buy me a coffee: https://ko-fi.com/codingkitten
Made with 💖 by kittendevv and contributors — if you find this useful, please ⭐️ the repo!